
Today I was long overdue for a new manicure and thought I'd try something a little different from the standard one note nail. I love marbling my nails during the summer, especially for a fun day at the beach. I have this quick tutorial to show you guys how you can achieve the same look!
Things you will Need:
 |
| A cold bowl of water |
 |
| A dotting tool or toothpick (Make sure you don't mind getting a little dirty!) |
 |
| Nails painted with some base color/coat |
 |
| 2-3 Nail Polish Colors (Preferably of contrasting colors to your base color) From left to right: Essie Meet Me at Sunset, WNW I Need a Refresh - Mint, Revlon Buttercip |
 |
| A roll of tape (Scotch will work perfectly!) |
Step 1: Wrap your nails


Take the scotch tape and wrap your whole finger, except your nail. I like to use two pieces of tape - One to go around the top of the nail and the sides and another to go under the nail. Do not skip this step as it prevents a lot of messy polish from getting on your skin!
Step 2: Drip in your desired colors


I like to layer my colors. I first started with the blue and then dripped in the orange and white. Be careful because they spread quickly! Also, definitely act fast because if you wait too long, it will be hard to use and transfer onto the nails.
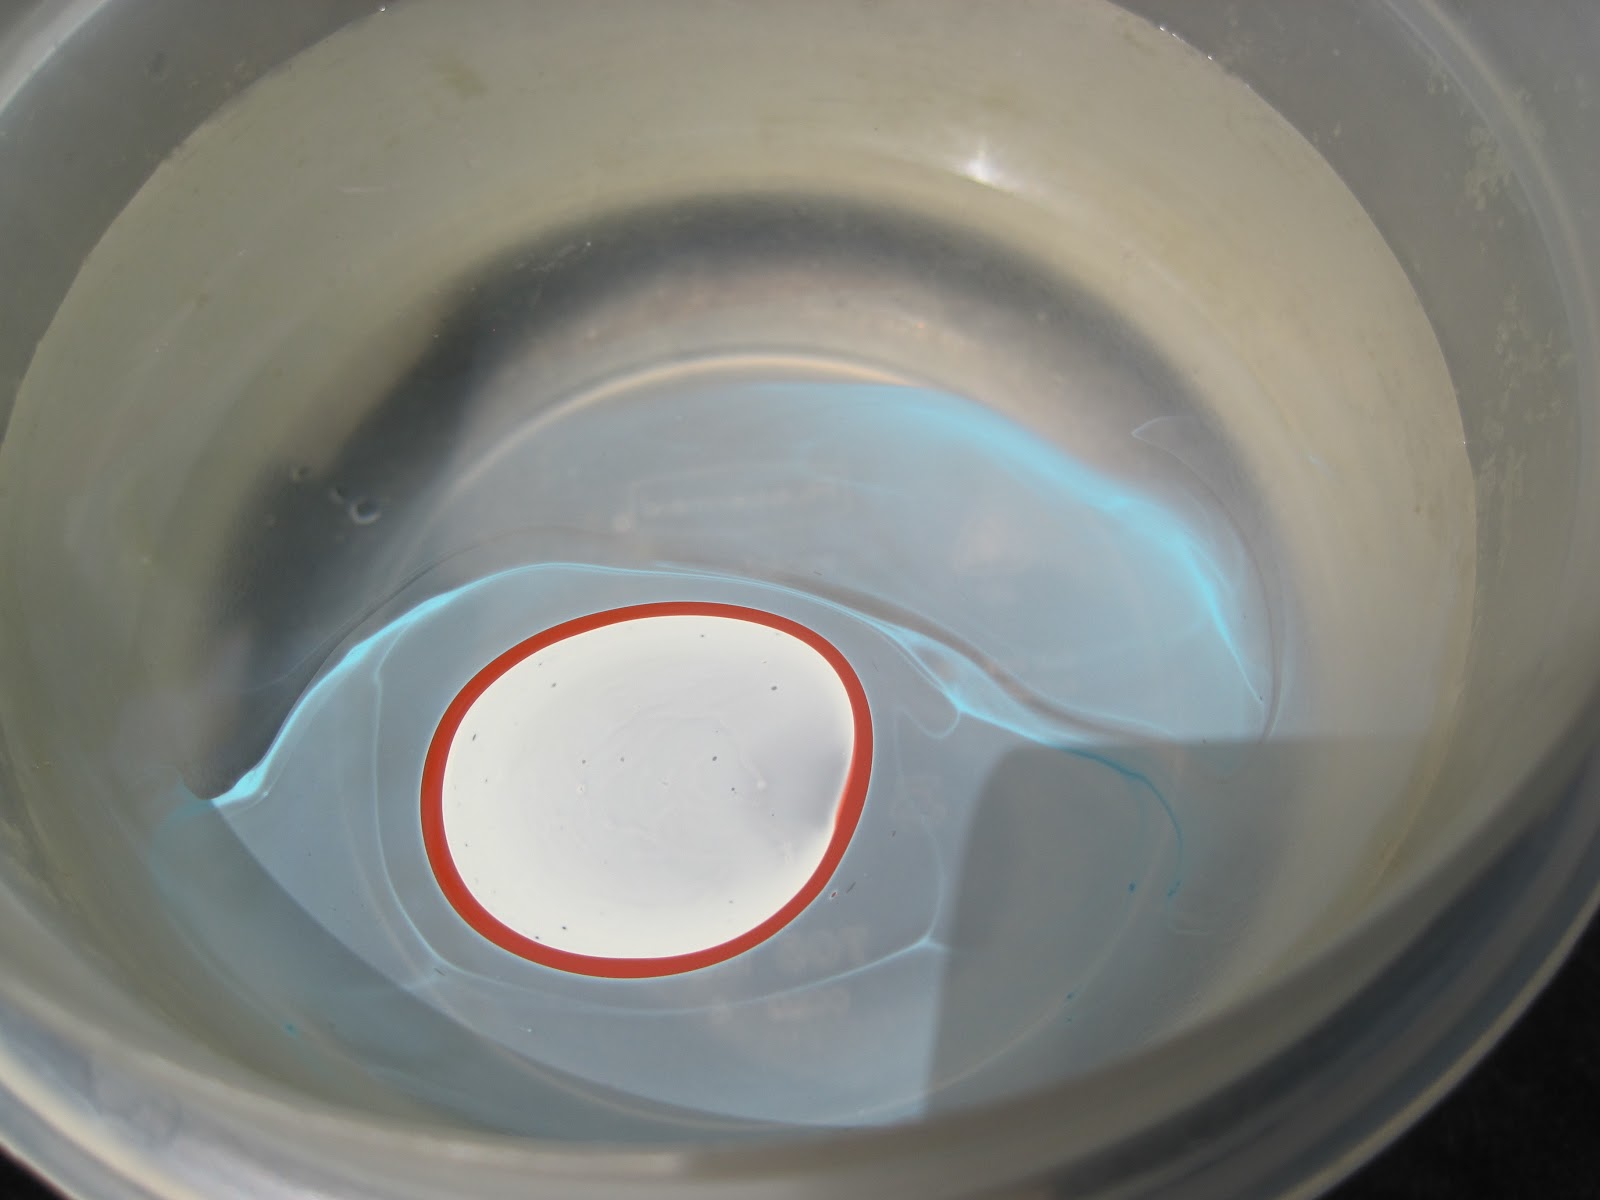
Step 3: Create a pattern with your marbling tool


This part you have to do immediately and quickly! If not, the whole design can be ruined! I like to drag the tool inwards and do some random swirls. This is the design that will transfer onto your nails.
Step 4: Take one nail and dip it into the desired pattern.


After you dip your finger do not move it or swirl it around! Let it sit for 10 seconds and then take your marbling tool and place it into the excess polish. Rotate it around until all of the excess polish in the water is cleaned up. Then, carefully remove your finger.
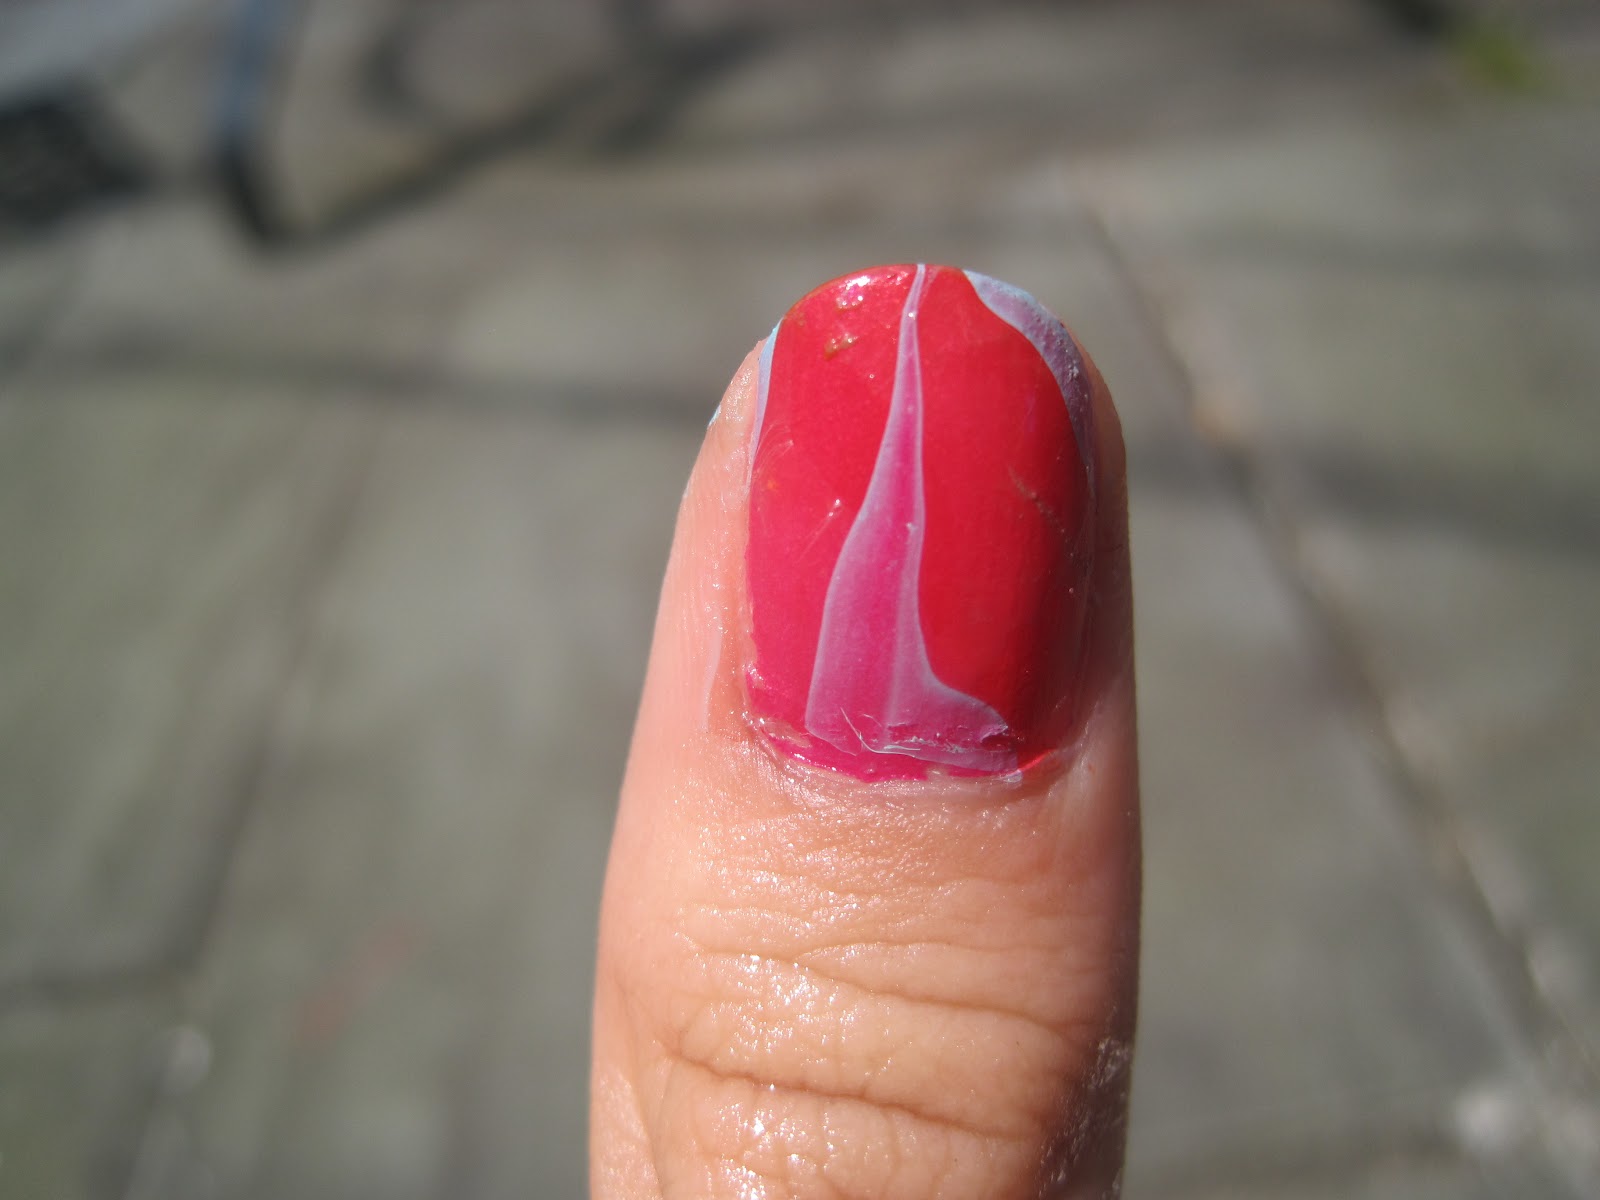
Step 5: Remove the tape carefully WITHOUT touching the nail and admire your design!

This is my FAVORITE part. It's so much fun to see the random designs you created!
Some of my designs:


 |
| My marbling tool after... LOL |
xoxo Kaylie <3
Your blog is great!
ReplyDeleteDo not hesitate to come see mine, there is the right translation.
Kisses & continues as its
thanks so much!!
DeleteMine never works out right :\
ReplyDeleteSometimes when you marble your nails you need the right polish. I just like to experiment with a couple of different ones until it spreads in the water how I want it to. Also, using super cold water also helps and gives you enough time to make a design and transfer it onto your nails!
Deletexoxo Kaylie <3
Hi hun :)
ReplyDeleteI LOVE your blog. I'm a follower :) Check out mine when you have the time - bfalonabudget.blogspot.co.uk.
Newest posts: skincare routine, review of Chilli Pepper costmetics and review of 'Wither' by Lauren DeStefano - who read it and tweeted me !!!
Also follow me on twitter to see Elle Fowler's Retweet to me !!!
@BudgetBeautyLK
xoxo
I have also found that using room temperature water works really well.:)
ReplyDeletethat's a great tip! i'll definitely try it next time, thanks so much<3
Delete